To make sure your relocation goes well and is stress-free you’ll need a comprehensive moving-out cleaning checklist. You can easily get distracted and lose track of all your cleaning duties. This way you risk getting your rental sparkly clean and your security deposit back.
Are you planning on moving out soon? Well, sorry but there is a lot of work ahead of you, and one of them is cleaning. No matter if you are ending a lease or you are selling your house, leaving your space in clean and good condition is a priority.
Start with yourself, you wouldn’t rent or buy a home that looks like a mess. So do your best to leave the house in the same perfect condition as you expected it to be when you first move in. So make yourself a cup of coffee to keep you energized, put on your favorite playlist, and grab those cleaning products so we can hit the road.
When You Should Do The Final Moving Out Cleaning?
People mostly get confused about when is the right time to start cleaning out. The best time is after all of your furniture and personal belongings are removed. This way you will be able to clean every nook and cranny, and with fewer things on your way cleaning will be easier to conduct.
After all, packing can be a dirty process so it is necessary to clean the floors and surfaces after the movers have left, so why do this twice when you can wait for the perfect moment.
This is why it is best to schedule your move at least a few days before your moving-out deadline, so you’ll have plenty of time to take care of your previous lining space in detail.
What tools you will need for this task?
Now that I’ve got you going, it is time to check out if you have all the right tools for this job. Naturally, you already have a lot of regular cleaning supplies on hand, however, you might be missing a few things. Let’s go over this comprehensive list together.
- Cleaning tools – trashbags, mop, bucket, duster, vacuum cleaner, broom, dustpan, cleaning gloves, sponges, paper towels, and clean cloth;
- Repair tools – screwdrivers, pliers, hammer, batteries, light bulbs, sandpaper, spackling paste, and scraper;
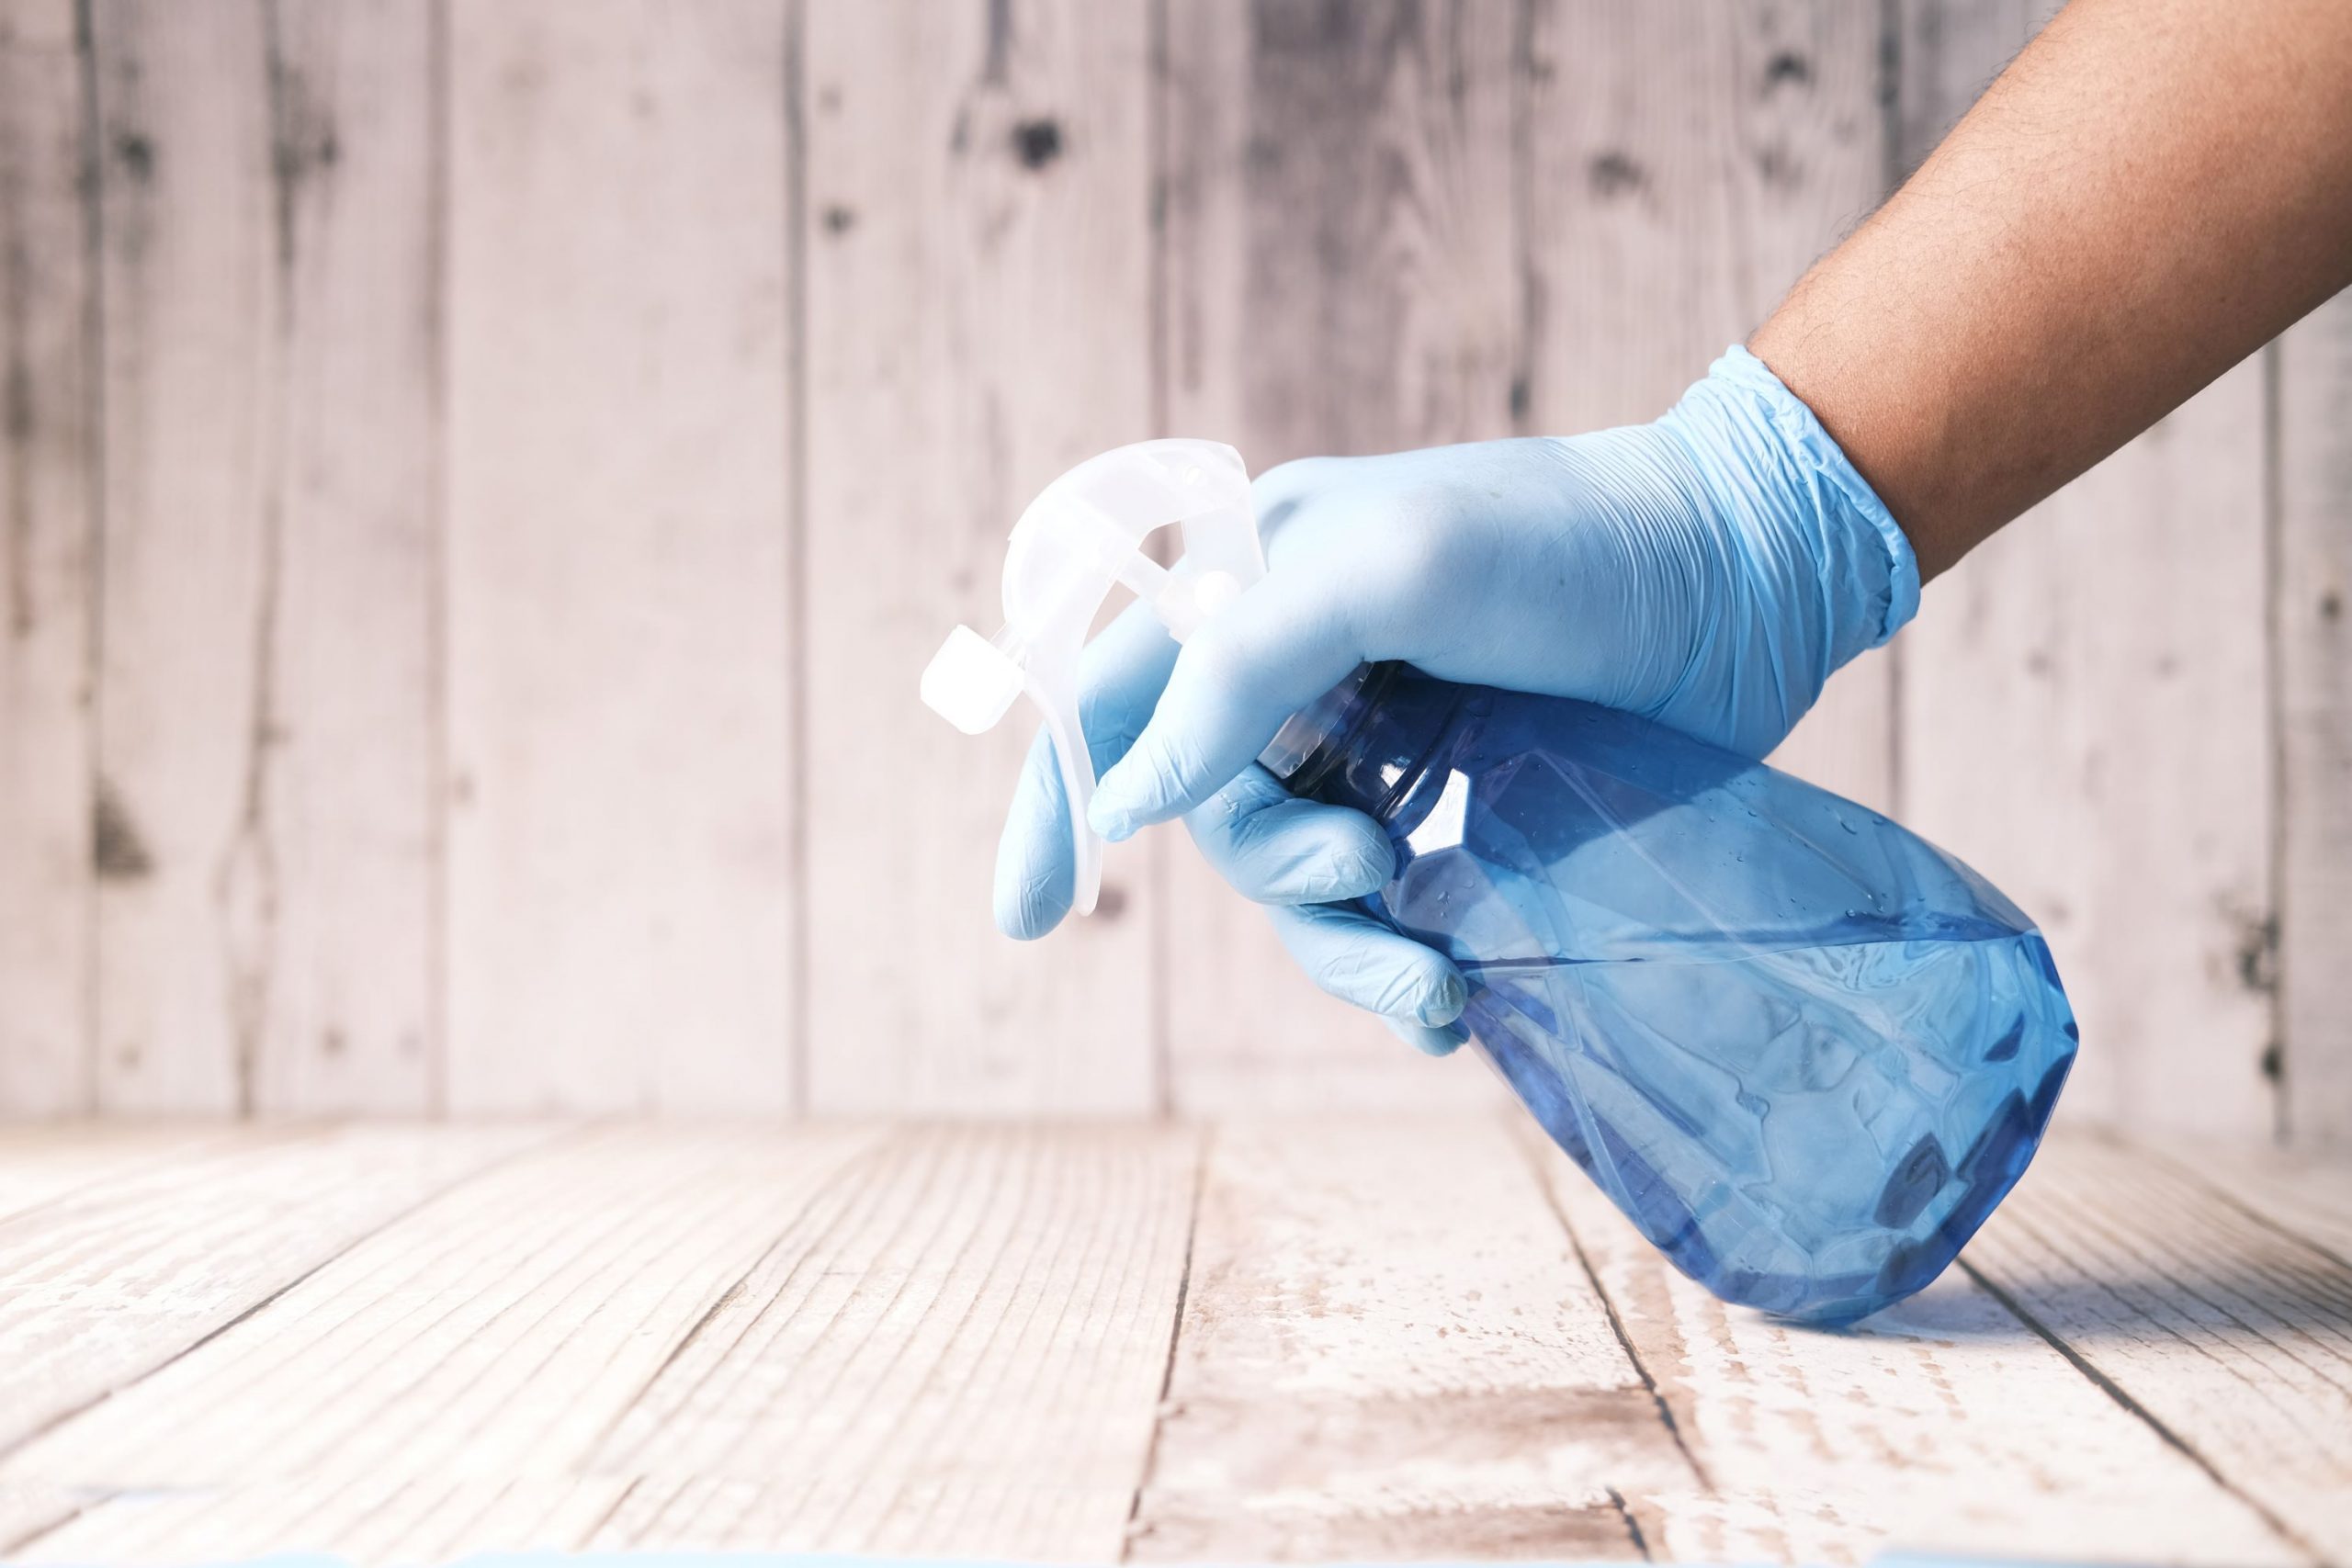
- Cleaning chemicals – carpet cleaner, floor cleaner, hardwood cleaner, glass cleaner, dish soap, bathroom cleaner, stain remover, grease remover, vinegar, baking soda, and air freshener for a final touch.
What’s on the moving-out cleaning checklist?
Your moving-out cleaning checklist will depend on the size of the place and how clean it already is. If you were renting you will need to conduct a deep clean and repair anything that might be damaged during your stay if you want to get your security deposit back.
On the other hand, a deep clean isn’t necessarily a legal requirement when you are selling your home, but it would be a great thing to do it anyway since it will give you a lot of advantage on the market.
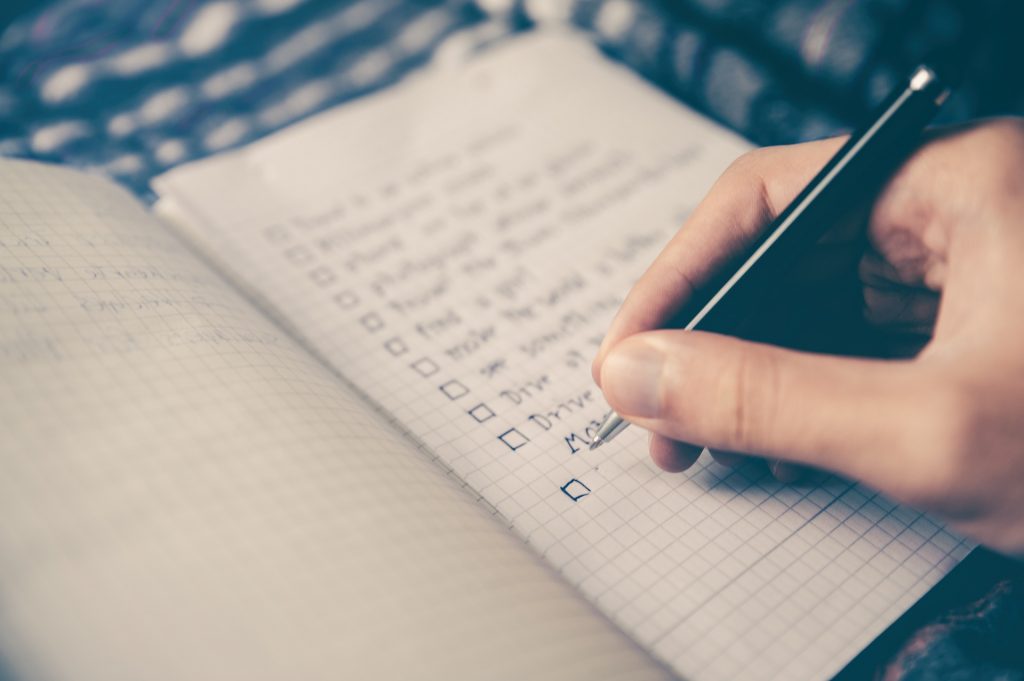
Step-by-step moving out cleaning checklist
Here comes a step-by-step moving-out cleaning checklist that will help you track things you already did, and make sure you didn’t leave out a single thing.
- Remove any of the remaining personal items – check out all the closets, and shelves in the bathroom, and the kitchen, and remove any pictures on the wall.
- Thoroughly vacuum carpets, floors, and walls – also make sure to vacuum all the nooks and crannies in the closets, stairs, under the kitchen elements, and move the remained furniture to vacuum it completely. Also, vacuum all the sofas if there are any.
- Dust and wipe all the surfaces, ceiling fans, and light fixtures – use a clean cloth or a paper towel and dust all the hard surfaces in the home with an all-purpose cleaner or a dish soap. Make sure you wipe down wooden surfaces like tables and closets with the hardwood cleaner.
- Clean the cabinets in the kitchen and bathroom
- Clean all the kitchen appliances – Stainless steel is a great material for most kitchen appliances, it is sturdy and easy to maintain, however, it has one flaw, it catches all the fingertips as his life depends on it. Use an all-purpose cleaning spray, or take my advice and dissolve vinegar in water, in a ratio of 1:1 and see how it magically removes any stains.
- Clean and sanitize the fridge – Fridges and freezers tend to get nasty over time no matter how neat you are. You need to completely defrost and empty it to be able to sanitize it properly. Wipe it down with the warm water and cleaning solution, then dry it out before applying the coat of disinfection spray. If you are more eco-friendly you can use a mixture of baking soda and vinegar for this purpose, you are welcome.
- Clean down oven and stovetops – After the fridge, the oven and the stovetops are one of the dirtiest places in the house, unless you have those fancy inductions cooktops. But, if you have a good old gas stovetop then you need to remove the top part to be able to clean underneath the burners. There is one magical cleaning mixture for a greasy oven, baking soda, and warm water. Mix until it becomes a paste and apply it all over the oven, leave it for some time, then remove it with a damp cloth
- Scrub the bathroom – After you finished with the kitchen, the bathroom should be your next stop. Thoroughly scrub the toilet and all the cabinets first. While you’re doing this mix some water, vinegar, and baking soda and add that mixture to all the drains to remove the clogs and the smells! Before you start cleaning the bathtub and sink run hot water down the soaked drains. In case you have problems with mildew, mold, and rust in the bathroom I advise you to hire a professional to handle this.
- Remove the nails screwed into the wall – or you can ask your landlord if he wants them to stay, that’s your goodwill.
- In the end, mop all the floors – Once you cleaned all the surfaces in the house, check all the floors once again to make sure you do not need to re-vacuum. If everything is in order mop all the floors with the floor cleaner. As a final touch use some air freshener and voila you are good to go.
Make small and easy repairs
Making necessary repairs before moving out is a must-do act. You are obliged to return the rental space in the original condition, so if for example something was already broken when you moved in don’t fix it on your own. However, make small repairs like this:
- Patch any holes in the walls that you made, use putty and some paint to patch them up;
- In case you painted any room in the rental, ask your landlord if he wants you to paint it back to its original color;
- Replace all the light bulbs and batteries in the smoke detector;
- Repair the stove properly in case you burned anything below the burners, replace them, and don’t waste time cleaning it;
- The bathroom is the first room we all inspect when we come to check out the new place, so make it look nice and clean. Use a bleach pen to remove any stains in the bathtub or sink.
Start Fresh And Clean
After you did all this hard work you deserved a break. Grab a coffee-to-go while you are supervising the moving process. No matter how well organized you are, you must admit no one can execute relocation as good as professionals.
Let us lift some weight off your shoulders and move all your belongings instead of you. Relax you deserved it! Contact us here so we can make you an offer.